
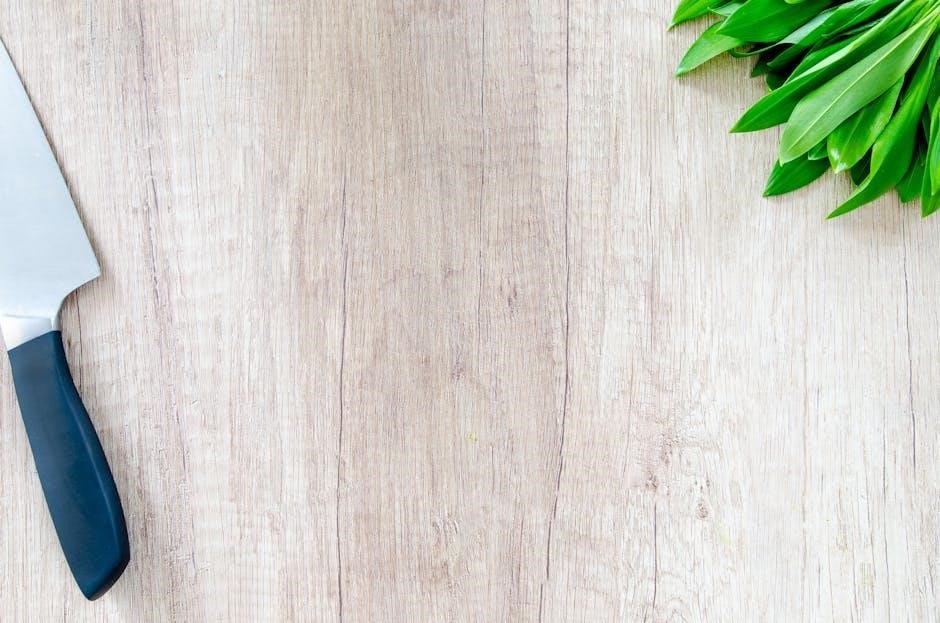
The Chef’s Choice Knife Sharpener is a premium tool designed to restore and maintain knife sharpness with ease and precision, ideal for both professional chefs and home cooks.
Overview of the Chef’s Choice Brand
Chef’s Choice is a renowned brand trusted by professional chefs and home cooks worldwide for its high-quality knife sharpeners. Known for innovation and user-friendly designs, the brand specializes in creating tools that restore and maintain knife sharpness with precision. Chef’s Choice sharpeners, such as the Model 15XV and Model 130, are celebrated for their versatility and durability, offering solutions for both straight-edge and serrated knives. The brand’s commitment to excellence is evident in its use of advanced technologies, like diamond abrasives and precision angle guides, ensuring optimal results. Whether for culinary professionals or enthusiasts, Chef’s Choice continues to set standards in knife sharpening, making it a go-to choice for those seeking reliable and efficient tools to enhance their cooking experience.

Importance of Knife Sharpness in Cooking
A sharp knife is an essential tool in any kitchen, as it ensures safety, efficiency, and precision in food preparation. Dull knives require more force, increasing the risk of accidents and making cutting less controlled. Sharp blades maintain the integrity of ingredients, reducing waste and preserving flavors. They also make tasks like slicing, chopping, and mincing faster and more precise, enhancing the overall cooking experience. For professional chefs and home cooks alike, sharp knives are crucial for achieving clean cuts and maintaining the quality of dishes. Regular sharpening with tools like the Chef’s Choice Knife Sharpener helps maintain knife performance, ensuring optimal results in the kitchen.
Why Choose the Chef’s Choice Knife Sharpener?
The Chef’s Choice Knife Sharpener stands out for its exceptional performance, ease of use, and innovative design; It offers precise angle control and diamond abrasives, ensuring a razor-sharp edge. The sharpener is versatile, accommodating various knife types and angles, making it ideal for both straight-edge and serrated blades. Its compact design and automatic features simplify the sharpening process, saving time and effort. Additionally, Chef’s Choice provides a 1-year warranty, reflecting their commitment to quality. With its user-friendly interface and durability, the Chef’s Choice Knife Sharpener is a reliable tool for maintaining knife sharpness, enhancing cooking efficiency, and delivering professional-level results for chefs and home cooks alike.
Safety Precautions Before Use
Always handle knives with care, follow instructions, and avoid electrical hazards. Ensure the sharpener is placed on a stable surface and keep children away while operating.
Handling the Knife Safely
Always grasp the knife firmly by the handle, ensuring your fingers are away from the blade. When placing the knife in the sharpener, align it carefully to avoid accidents. Never apply excessive pressure or twist the knife, as this could cause injury or damage. Keep your free hand away from the sharpening area. After sharpening, inspect the blade for any burrs and store the knife securely. Proper handling ensures both personal safety and optimal sharpening results. Always maintain focus and follow the manufacturer’s guidelines for safe operation.
Electrical Safety Measures
To ensure safe operation, always follow electrical safety guidelines. Keep the sharpener away from water and avoid immersion, as this can lead to electrical hazards. Place the device on a stable, dry surface and ensure it is properly plugged into a grounded outlet. Never touch the sharpener with wet hands or while standing on a damp surface. Avoid overloading the outlet with multiple high-power devices. Keep children away from the sharpener when it is in use. If the device malfunctions, unplug it immediately and contact customer support. Proper adherence to these measures ensures safe and effective sharpening without risk of electrical incidents.

Proper Storage and Handling of the Sharpener
Proper storage and handling of the Chef’s Choice Knife Sharpener are crucial to maintain its efficiency and longevity. Always store the sharpener in a cool, dry place, away from direct sunlight and moisture. Ensure the device is unplugged and cleaned before storage to prevent dust buildup. Handle the sharpener with care to avoid dropping or applying excessive force, which could damage internal components. Use a soft cloth to wipe down the exterior and remove any debris. Never store the sharpener near flammable materials or in areas prone to humidity. By following these guidelines, you can ensure your Chef’s Choice Knife Sharpener remains in optimal condition for years of reliable use.
Step-by-Step Instructions for Using the Chef’s Choice Knife Sharpener
Place the knife in the sharpener, ensuring proper alignment. Operate through Stage 1 for coarse sharpening, then Stage 2 for fine sharpening, following the manual’s guidance carefully.
Preparing the Sharpener and Knife

Before use, place the Chef’s Choice Knife Sharpener on a sturdy, flat surface. Ensure the sharpener is clean and free from debris. For the knife, inspect the blade for any food residue or dirt, and clean it if necessary. Position the knife so the cutting edge faces upward. For optimal results, align the blade with the sharpener’s angle guides, which are designed to maintain the correct sharpening angle. Gently insert the knife into the appropriate slot, ensuring it rests securely between the angle guide and the polymeric spring. For knives with heavy bolsters, start sharpening from the heel of the blade and work toward the tip. This preparation ensures a smooth and effective sharpening process.
Placing the Knife in the Sharpener

To place the knife in the Chef’s Choice Knife Sharpener, start by securing the sharpener on a stable surface. For manual sharpeners, insert the blade into the appropriate slot, aligning the cutting edge with the guide. For electric models, position the knife at a slight angle, about 20 degrees, and gently slide it into the left slot, ensuring it rests between the angle guide and the polymeric spring. For knives with heavy bolsters, begin sharpening from the heel of the blade. Do not twist the knife during placement. Once properly aligned, press the switch to activate the sharpener for electric models or begin manual sharpening. This ensures even sharpening and prevents damage to the blade.
Operating the Sharpener
Once the knife is properly positioned in the sharpener, turn it on for electric models or begin manual sharpening. For electric sharpeners, press the switch to activate the motor. For manual models, gently pull the knife through the sharpening slot several times. Start with Stage 1 (coarse sharpening) to restore the edge, then switch to Stage 2 (fine sharpening) for polishing. Repeat the process on both sides of the blade until a sharp edge is achieved. Avoid applying excessive pressure, as this could damage the knife or sharpener. After sharpening, test the knife’s edge to ensure it meets your desired sharpness.
Stage 1: Coarse Sharpening
Stage 1 is designed for coarse sharpening, using diamond abrasives to restore a dull knife’s edge. Place the knife in the left slot, aligning the blade with the angle guide. Gently pull the knife through the slot 3-4 times for straight-edge knives or 2-3 times for serrated blades. This stage removes metal, correcting the angle and establishing the initial sharpness. Repeat on the opposite side to ensure even sharpening. After completing Stage 1, the knife will have a noticeably sharper edge, ready for refinement in Stage 2.
Stage 2: Fine Sharpening
Stage 2 focuses on fine sharpening, refining the knife’s edge for precision and smooth cutting. After completing Stage 1, place the knife in the right slot, designed for finer abrasives. Gently pull the knife through 3-4 times, maintaining the same angle as before. This stage polishes the edge, removing any remaining imperfections and enhancing sharpness; For optimal results, repeat the process on the opposite side to ensure even sharpening. After Stage 2, the knife will be razor-sharp and ready for use. For maintenance, periodic use of Stage 2 alone can maintain the edge without the need for coarse sharpening, keeping your knife in peak condition.

Maintenance and Troubleshooting
Regularly clean the sharpener with a damp cloth and avoid harsh chemicals. For clogged slots, use a small brush. Refer to the manual for troubleshooting common issues like misaligned blades or uneven sharpening, ensuring optimal performance and longevity of your Chef’s Choice Knife Sharpener.
Cleaning the Sharpener
Regular cleaning is essential to maintain the performance of your Chef’s Choice Knife Sharpener. Start by unplugging the device for safety. Use a soft, damp cloth to wipe down the exterior and remove any debris or residue. Avoid using harsh chemicals or abrasive cleaners, as they may damage the surface. For the sharpening slots, use a small, dry brush to remove metal shavings and dust. If slots are clogged, gently scrub with a toothbrush. Never submerge the sharpener in water or expose it to excessive moisture. Allow all parts to dry thoroughly before storing. Proper cleaning ensures optimal sharpening results and extends the lifespan of your sharpener. Always refer to the user manual for specific maintenance recommendations.
Common Issues and Solutions
Common issues with the Chef’s Choice Knife Sharpener often relate to improper use or maintenance. If the knife doesn’t sharpen evenly, ensure it’s placed correctly in the slots and check the angle guides. For blades with heavy bolsters, align the knife properly to avoid interference. If the sharpener makes unusual noise, inspect for debris in the slots and clean them with a soft brush. Knives with very dull edges may require multiple passes through Stage 1 before moving to Stage 2. If the sharpener stops working, unplug it, clean any blockages, and restart. Always refer to the user manual for troubleshooting specific to your model. Proper care and adherence to guidelines can resolve most issues effectively.

Warranty and User Manual Information
The Chef’s Choice Knife Sharpener comes with a 1-year limited warranty covering parts and maintenance. Refer to the user manual for detailed instructions, troubleshooting, and warranty specifics.
Understanding the Warranty Coverage

The Chef’s Choice Knife Sharpener is backed by a 1-year limited warranty from the date of purchase. This warranty covers defects in materials and workmanship, ensuring repairs or replacements are made at no additional cost. The warranty applies when the sharpener is used for normal household purposes, excluding commercial or industrial use. Proper maintenance and adherence to user guidelines are required to maintain warranty validity. For detailed information, refer to the user manual or contact customer support. This coverage underscores the brand’s commitment to quality and customer satisfaction, providing peace of mind for users.
Navigating the User Manual
The user manual for the Chef’s Choice Knife Sharpener is designed to provide clear, step-by-step instructions for optimal use and maintenance. It begins with safety precautions and moves through detailed operational guidelines, ensuring users understand how to sharpen knives effectively. The manual also includes troubleshooting tips for common issues and highlights proper maintenance practices. Additionally, it outlines warranty information and product specifications. The manual is concise and user-friendly, making it easy for both novice and experienced users to navigate. By following the manual’s instructions, users can maximize the sharpener’s performance and extend its lifespan. Always refer to the manual for specific guidance tailored to your Chef’s Choice model.